The Benefits of Cooking with Your Kids in the Kitchen – Plus 3 Easy Recipes
There my teen-self stood, staring into a hot oven of massacred red velvet cupcakes. It was an explosion of red goo dripping and baking on every square inch of that roaster. I was befuddled!

After I shed tears and my mother shed her uncontrollable laughter, we came to the conclusion I added too much baking powder. No wonder I barely had enough for a cup in that small container. I only needed a tablespoon! This experience, guided by my mother, taught me to read directions carefully, see first-hand what can happen when the ingredients are out of balance, and know it’s okay to make mistakes.
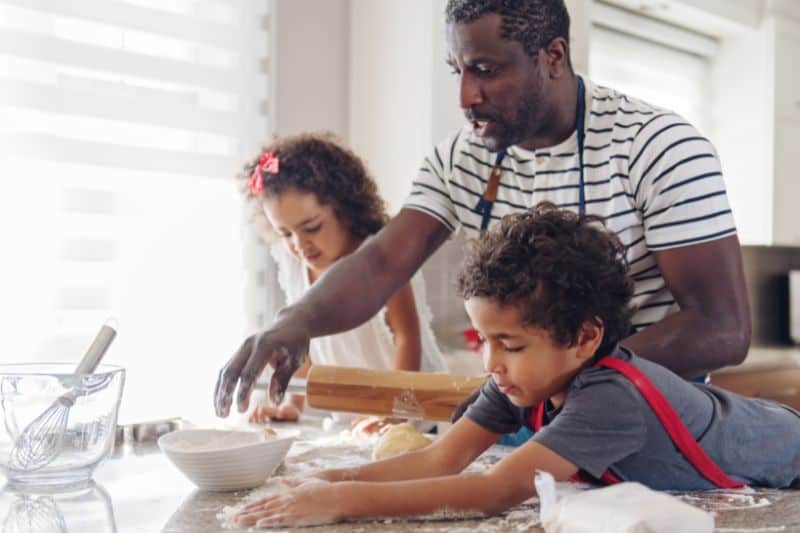
I know what you’re thinking. Cooking with kids in the kitchen?! I’d rather weed the garden on a sunny, mid-August day in Florida! I don’t want to clean up an explosive mess!
As trying as it can be on your patience (and appliances), the benefits of cooking with your kids are worth the frustration. The key is in preparation, mindset, and remembering those benefits.
We’re sharing our top reasons to involve your kids in the kitchen.
Benefits of Cooking with Your Kids
- Kids who assist with meal preparations eat healthier. A study completed by the University of Alberta showed children who helped in the kitchen had a greater preference for fruits AND vegetables versus just fruits which most children favor.
- Basic math skills are built and reiterated while cooking. Counting objects like eggs, measuring liquids and solids, sequencing and time measurement are all skills used in many other aspects of life. Your kids will learn foundational skills while having fun doing it.
Learning opportunities
- Reading a recipe together helps promote literacy by building vocabulary with words like sifting and whisking and naming herbs like turmeric or saffron. It’s not often these words are found in children’s books.
- Children who can’t read yet not only learn new vocabulary words by listening but improve their listening skills through instruction. We need to preheat the oven, grease the baking sheet and mix our ingredients. What do we need to do first?
- It’s a science lesson. Cooking is nothing more than chemistry. Just like I saw what happens when you add too much baking powder, children will see all sorts of chemical reactions when things are mixed, heated and cooled.
- Cooking allows children to explore with their senses. They get to hear the sound of eggs cracking and mixers whirring. They can see individual ingredients begin to blend into something new. The aroma of food cooking lets children smell their creations. Pouring, blending and mixing all of those ingredients offers learning through touch. Finally, the outcome of their hard work can be tasted and enjoyed.
- Confidence is boosted through meal prep. I recently made cookies with my youngest for Father’s Day. When I announced at our family dinner Olivia helped make the dessert, she beamed with joy and delight as everyone enjoyed the fruits of her labor.
- Meal prep paves the way for an adventurous palate. Kids are more likely to try something if they have had a hand in making it. Every single time my kids assist with a recipe, they not only eat it but usually like it. It’s rare they will snub their nose at a dish they’ve taken part in.
- You cultivate a healthy lifestyle for your kids. The National Health and Nutrition Examination Survey from 2007-2010 showed those who had a high frequency of cooking at home had a lower intake of daily fats and sugars compared to those who ate out on a regular basis.
- Fine motor skills. All of that kneading, stirring, whisking and rolling requires the use of those tiny muscles in their hands. The kitchen is the ideal space to fine-tune those little ligaments.
- Kids can build interpersonal relationships. Most children want nothing more than quality time with those they love. You can do just that in the kitchen while talking about day-to-day activities and family traditions. This is one way to build a foundation of open communication for the future with your children. Not just you and your child either, but with siblings as well if everyone is collaborating on the meal preparation.
- Lastly but not least, fun and creativity! Kids enjoy getting messy and having the ability to take control and make their own decisions. They feel in control when they get to pick the cookie cutter, icing color or ingredients for a salad. Plus, your creative cook might just make something beautiful and tasty you enjoy too.
Tips for Cooking
Get your mindset right and embrace the chaos. You know when you go to a water park, you’ll get wet and when you work in the garden, your hands will get dirty. When you cook with children – and even some adults – things will get messy and take a little longer. Planning and preparing yourself ahead of time will make the experience enjoyable and beneficial for everyone involved. You may even notice you have an extra helping of patience.
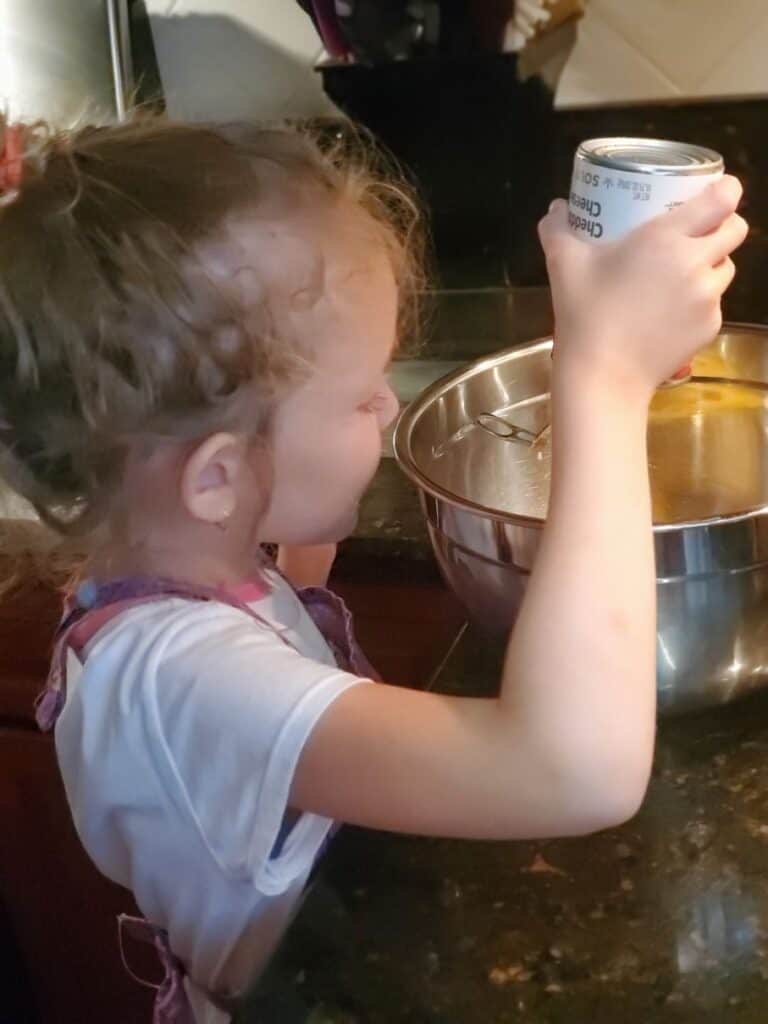
Don’t force your kids to complete a task. Recently, I was cooking chicken pot pie puffs (see recipe below) with my oldest. We made our breading from scratch and had to mold it into the muffin tins. He thought it was entertaining for the first row and quickly got bored with it. The lack of enthusiasm and drive began to show in his workmanship too which I had to go behind him and reform the dough. So, when I made cookies with my youngest and she got tired of stirring the mixture, I said, “Okay,” and completed the task for her. We both ended the session with smiles on our faces.
Add variety! Baking is a great starting point for children when beginning their time in the kitchen. Who doesn’t like baked goods?! Don’t stay there though. Evolve and grow their skills by teaching them how to fry or scramble an egg for breakfast. Show them how to mix a salad for lunch. Let them boil, sauté and whisk on the stovetop for dinner. This is where the benefit of a healthy foundation will start.
Let those little hands chop. Children can cut, chop and slice safely with a butter knife, plastic knife or kid-friendly kitchen knife. My children received a whole kid’s cooking set a couple of years ago as a gift. It has measuring cups, spatulas, a whisk, a rolling pin and kid-safe knives. These plastic knives cut really well! Soft fruits and veggies are the best option to begin with then move to the harder ingredients when they’ve mastered the technique.
Taste test! That’s part of the excitement in cooking anyway, right? Trying individual ingredients and experiencing how they all come together to make a dish is a skill in itself. My brother is an expert at tasting something and immediately knowing what’s missing or what may make the dish better. Sometimes, he even just goes off of smell. I am jealous as I do not possess this gift. My brother also began cooking meals from scratch earlier than I did. Start this skill with your children young and they will be masters by the time they are on their own.
Give kids independence. As they master the basics, allow them to fly solo with your supervision. Ask them what they would like to make, find a recipe and go shopping together. You then be the sous chef to your young Top Chef.
Recipes
Here are 3 easy recipes to try with your culinary artist.
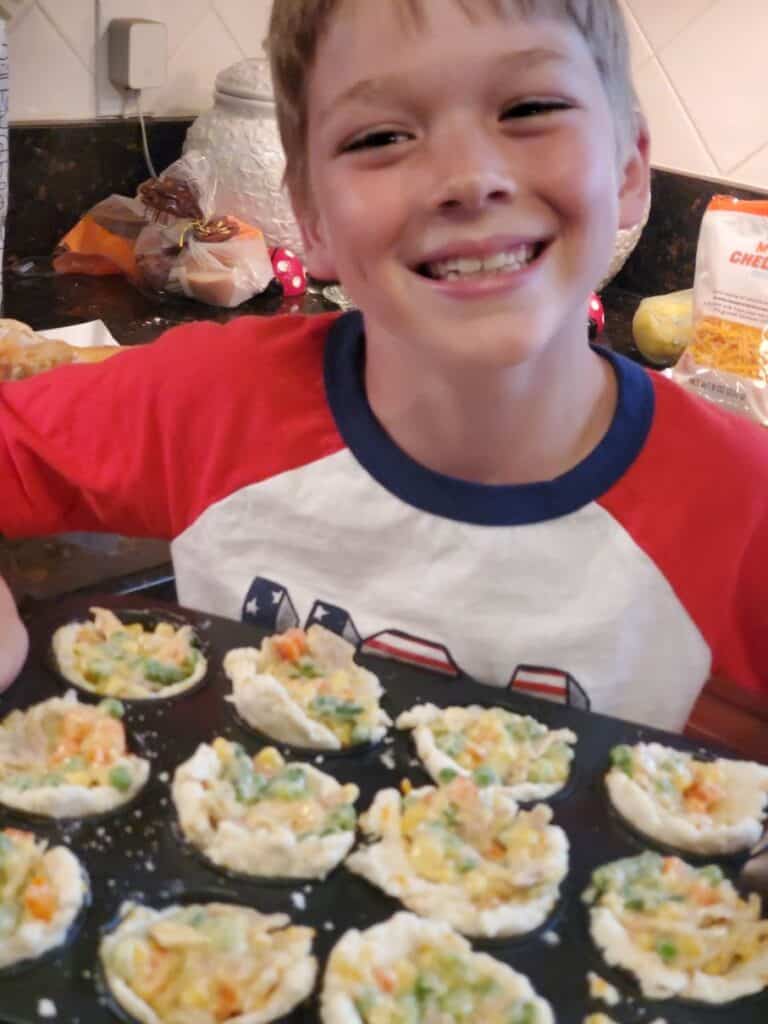
Chicken Pot Pie Puffs
I found this recipe online at Run Wild My Child and it has been a huge hit in our house. We did tweak this recipe a bit because our house has cut back on gluten. Instead of canned biscuits, we made our own gluten free cheese biscuits. This did not make this recipe gluten free as canned cream of chicken soup typically contains gluten.
Ingredients:
- 2 cups frozen mixed vegetables
- 1 can cream of chicken soup
- 1 rotisserie chicken
- 1 can biscuits
Directions:
- Heat oven to 375°F. In a medium bowl, combine vegetables, chicken, and soup; mix well.
- Press each biscuit into 5 1/2-inch rounds. Place 1 round in each of 8 greased regular-size muffin cups of a muffin tin. Firmly press in bottom and up side, forming 3/4-inch rim.
- Spoon a generous 1/3 cup chicken mixture into each muffin cup. Pull edges of dough over filling toward center; pleat and pinch dough gently to hold in place.
- Bake at 375°F 20 to 22 minutes or until biscuits are golden brown. Cool 1 minute; remove from pan.
- Enjoy!
Tater Tot Casserole
This twist on Shepherd’s Pie was a hit with my two girls who enjoy tater tots. We did use frozen corn and green beans instead of cans for this recipe, although, I believe fresh would have tasted even better.
Ingredients:
- 32 ounce package frozen tater tots
- 1 pound lean ground beef
- ½ of a white onion, diced
- ½ teaspoon garlic powder
- ½ teaspoon salt
- ½ teaspoon pepper
- 2 teaspoons Worcestershire Sauce
- 1/3 cup sour cream
- 1 10-ounce can condensed cheddar cheese soup
- 1 10-ounce can cream of mushroom or chicken soup
- 2 cups shredded cheddar cheese, divided
- 1 15.2-ounce can corn, drained
- 1 14.5-ounce can green beans, drained
Directions:
- Preheat oven to 350°F. Grease a 9×13 inch baking dish and set aside.
- In a large skillet, brown the ground beef along with the onion, garlic powder, salt, pepper and Worcestershire sauce until the beef is no longer pink. Drain grease if necessary.
- In a large bowl, mix together the beef mixture with the sour cream, both cans of soup, corn, green beans and 1 cup of shredded cheddar cheese.
- Spread the beef and soup mixture into the prepared dish. Top with an even layer of tater tots and bake in the preheated oven for 50 minutes until tater tots are brown and the casserole is bubbling.
- Top the casserole with the remaining shredded cheese and bake for 5 minutes until the cheese is melted.
- Dig in!

Chocolate Peanut Butter No-Bake Cookies
We call these cookies ‘Humphrey Cookies’ in my family because my grandmother has made them for years. Google no bake cookies and you will come across recipes for these tasty treats in droves. I have looked over many of them to see if I could improve our recipe but they are all essentially the same. This is a great recipe for younger ones because it’s easy and doesn’t take a lot of time for the end result.
Ingredients:
- 2 cups sugar
- ½ cup butter
- ½ cup milk
- 3 tablespoons baking cocoa powder
- Dash salt
- ½ cup creamy peanut butter
- 1 teaspoon vanilla extract
- 3 cups old-fashioned oats
Directions:
- In a large saucepan, combine the sugar, butter, milk, cocoa powder and salt. Stir constantly until it comes to a boil. Cook and stir for 3 minutes.
- Remove mixture from the heat; stir in peanut butter and vanilla until well blended.
- Stir in oats one cup at a time. It will seem a little soupy once the oats are well mixed but you want it to be. Don’t add in more oats to thicken.
- Drop mixture by tablespoonsful onto waxed paper or aluminum foil. We let our cookies set on the counter but you could pop them in the fridge.
- Eat!